WordPress Security Checklist for Beginners: 12 Easy Steps
Starting a WordPress website is exciting, but website security is easy to overlook when you are busy publishing content, choosing a theme, and working on SEO.
The good news is that you do not need to be a developer to protect a basic WordPress website. A few sensible habits can reduce common risks, protect your content, and make it easier to recover if something goes wrong.
This WordPress security checklist for beginners covers the essentials: updates, passwords, two-factor authentication, backups, HTTPS, trusted plugins, and regular maintenance. Work through the steps one at a time. You do not have to change everything in a single afternoon.
Affiliate Disclosure: This article may contain affiliate links. If you purchase a service or sign up through one of our links, SoloBizStack may earn a commission at no additional cost to you.
Why WordPress Website Security Matters
Your website is more than a collection of blog posts. It may contain your original content, contact forms, subscriber information, affiliate links, and the work you have spent months creating. Losing access to your site or discovering that visitors are being redirected to suspicious pages can cost time, traffic, and trust.
Security is not about making your website impossible to attack. No setup can guarantee that. It is about making unauthorized access harder, keeping your software maintained, and having a reliable way to restore your site if a problem occurs. WordPress provides a detailed security handbook for site owners, but you can start with the practical steps below.
The WordPress Security Checklist
1. Keep WordPress, Plugins, and Themes Updated
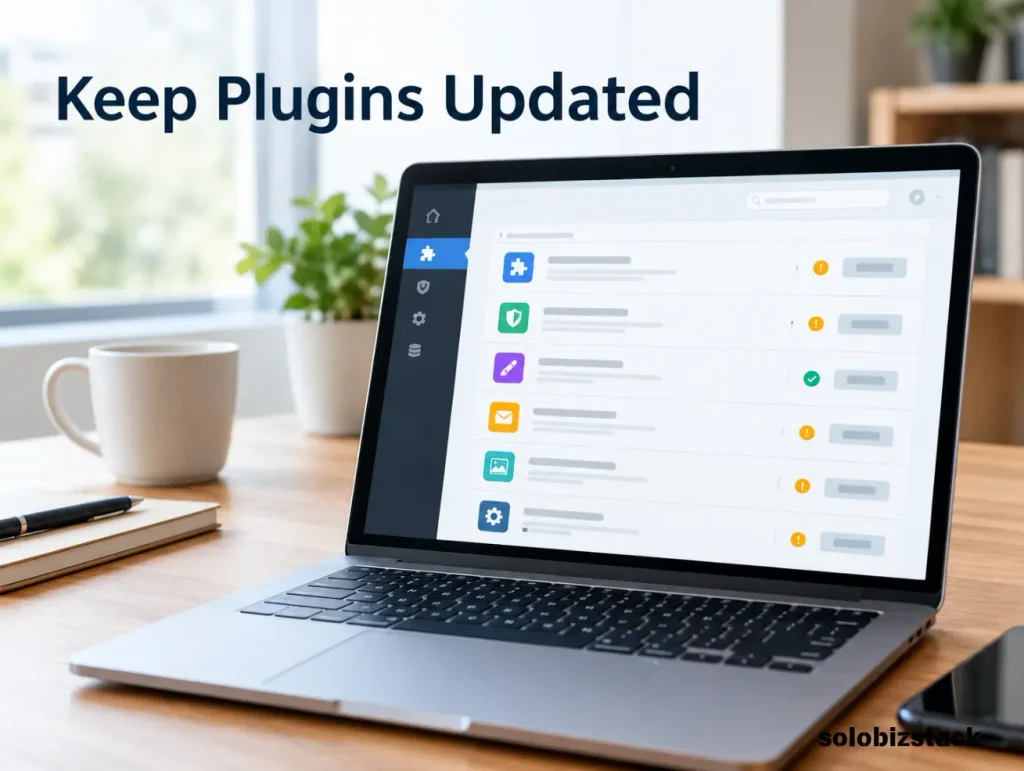
Updates are one of the most important parts of WordPress security. They can fix bugs, improve compatibility, and address security vulnerabilities. An older version of a plugin or theme may leave your site exposed to a problem that has already been fixed in a newer release.
In your WordPress dashboard, open Dashboard → Updates to check the status of WordPress core, plugins, and themes. You can also review updates from the Plugins and Themes screens.
Before making significant updates, create a fresh backup. WordPress recommends backing up before updates because a change can occasionally cause a conflict or break part of your site. Its official update guide explains the process.
For plugins and themes you trust, automatic updates can save time. However, do not turn on every update setting without a plan. If you run a more complex website, review important changes and make sure a recent backup is available first.
Checklist:
- Check for WordPress core updates.
- Update active plugins and themes.
- Confirm that important pages still work after updates.
- Keep a current backup before major changes.
2. Remove Plugins and Themes You Do Not Use
Every plugin or theme you install adds another piece of software to maintain. Unused components can be forgotten, left outdated, or become a source of unnecessary risk.
Open Plugins → Installed Plugins and review the list. Deactivate and delete plugins you no longer need. Then visit Appearance → Themes and remove unused themes, keeping your active theme and any fallback theme you have a reason to retain.
Do not choose a plugin simply because it has an appealing feature. Check whether it comes from a reputable developer, receives updates, has useful documentation, and is compatible with your WordPress version. Avoid nulled or pirated themes and plugins entirely. They can contain malicious code and do not give you a trustworthy update path.
You can also use our guide to essential WordPress plugins every new website needs to review which functions your site actually requires.
Checklist:
- Delete plugins you no longer use.
- Remove unused themes where appropriate.
- Avoid pirated or unofficial plugin downloads.
- Review plugin quality before installing something new.
[See the Essential WordPress Plugins Checklist → ]
3. Use a Strong, Unique Password
Your WordPress password should be different from the passwords you use for email, hosting, social media, and other websites. Reusing a password creates a problem: if one account is compromised, someone may try the same credentials elsewhere.
Use a long, unique password generated by a reputable password manager. Avoid names, birthdays, website names, and predictable combinations. A password manager also makes it easier to maintain separate passwords without relying on memory.
Remember that WordPress is only one account to protect. Your hosting dashboard and the email account used to reset your WordPress password are important too. If an attacker gains access to either one, they may be able to take control of the site.
Checklist:
- Use a unique password for every important account.
- Store passwords in a reputable password manager.
- Secure the email account connected to WordPress.
- Never share the administrator password with a freelancer.
4. Enable Two-Factor Authentication
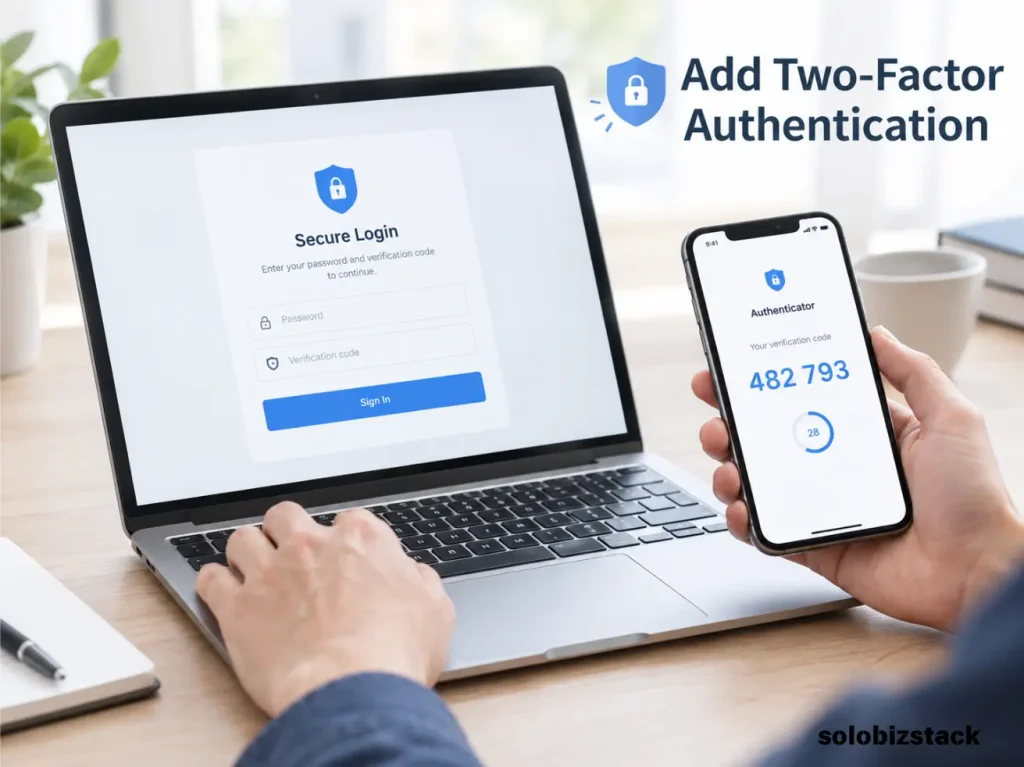
A strong password is important, but it should not be your only line of defense. Two-factor authentication (2FA) adds another step to the login process. After entering your password, you must also provide a time-sensitive code or another approved verification method.
For a small WordPress site, start with administrator accounts. If other people can publish content or manage settings, enable 2FA for those accounts as well. A security plugin such as Wordfence offers documentation on setting up two-factor authentication.
Follow the setup instructions carefully and save any recovery codes in a secure location. Before logging out of your current session, confirm that you can complete the new login process. That small check can prevent you from locking yourself out.
Checklist:
- Enable 2FA for administrator accounts.
- Enable it for other high-privilege accounts where supported.
- Store recovery codes somewhere private.
- Confirm that you can sign in before ending your current session.
5. Review User Accounts and Permissions
Not everyone who works on your site needs administrator access. An administrator can change settings and manage many parts of WordPress, so using that role for every account creates unnecessary risk.
Go to Users → All Users and review the accounts on your site. Remove accounts that no longer need access, investigate unfamiliar users, and assign the lowest role that allows each person to do their work. For example, someone who only needs to write drafts may not need administrator privileges.
If you hire a freelancer, create a separate account for that person instead of sharing your own login. Give the account only the permissions required for the project, and remove or downgrade access when the work is complete. This also makes it easier to understand who has access to your website.
Checklist:
- Remove accounts that are no longer needed.
- Investigate any user you do not recognize.
- Avoid giving every contributor administrator access.
- Use separate accounts for freelancers and contractors.
6. Set Up Automatic Backups and Test Them
Backups are your recovery plan. They can help you restore your website after a failed update, accidental deletion, hosting problem, or security incident.
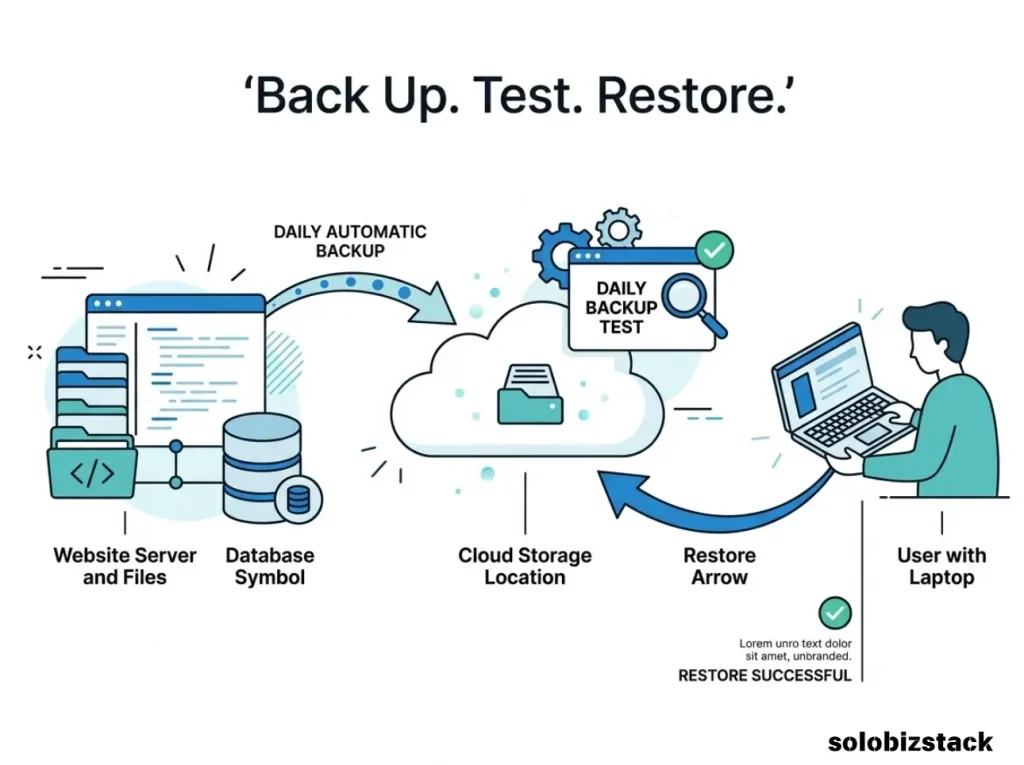
A useful backup should include both your website files and your database. The database contains content such as posts and comments, while the files include themes, plugins, and uploaded media. WordPress explains these components in its official backup guide.
Set a backup schedule that matches how often you publish or change your site. A blog that changes a few times each week may need a different schedule from a store that receives orders every day. If your hosting plan includes automatic backups, check how often they run, how long copies are kept, and whether restoring a backup costs extra.
Where possible, keep a copy somewhere separate from your hosting account. This gives you another option if access to the host is disrupted. Most importantly, learn how restoration works and test it in a safe staging environment when available. A backup that has never been tested is only a promise, not a recovery plan.
Checklist:
- Back up both website files and the database.
- Automate backups on a suitable schedule.
- Keep at least one copy separate from the main hosting account when possible.
- Check how to restore the backup.
- Test restoration safely before you urgently need it.
7. Make Sure Your Website Uses HTTPS
Open your website in a browser and check that its address starts with https://. A valid SSL/TLS certificate allows the browser and your server to communicate over an encrypted connection. HTTPS helps protect information exchanged with your site and is particularly important for login pages and forms.
Many hosting providers include an SSL certificate in their plans. Check your hosting dashboard or contact support if you are unsure whether the certificate is installed and renewing correctly. WordPress explains the basics in its HTTPS documentation.
An HTTPS connection does not mean the whole website is automatically secure. It does not replace strong passwords, updates, backups, or access controls. If visitors see a certificate warning or are bounced between HTTP and HTTPS, ask your host to check the configuration instead of installing random redirect plugins.
Checklist:
- Confirm that your website loads using HTTPS.
- Check that the browser does not show a certificate warning.
- Verify that important pages and forms work correctly.
- Ask your host for help if HTTPS redirects are broken.
8. Choose a Hosting Provider With Useful Security Features
Your hosting provider is part of your website’s security setup. Depending on the plan, a host may offer SSL certificates, server-level protections, malware monitoring, backups, account security features, and support with recovery.
When comparing hosting plans, do not judge them by price alone. Check what is actually included. A plan that advertises backups, for example, may limit the number of restore points or charge for certain recovery services.
If you are still choosing a host, read our guide to Hostinger vs SiteGround for a beginner-focused comparison. Confirm current security and backup features on the provider’s own website before purchasing, because plan details can change.
Checklist:
- Check whether SSL is included.
- Understand the host’s backup and restore policy.
- Secure the hosting account with a strong password and 2FA if available.
- Know how to contact support if your site is compromised.
[Compare Hostinger vs SiteGround → ]
[Explore WordPress Hosting Plans → ]
9. Use One Reputable Security Plugin
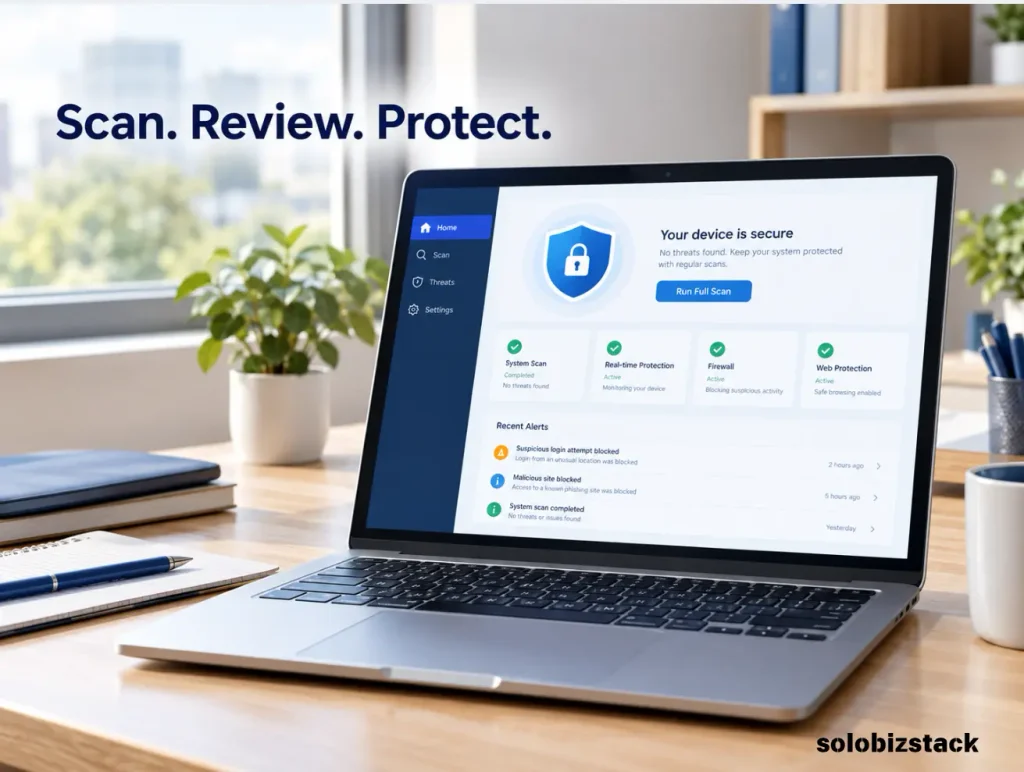
A WordPress security plugin can make certain tasks easier. Depending on the product and configuration, features may include malware scanning, a web application firewall, login protection, security alerts, or two-factor authentication.
Choose a solution that fits your site rather than installing several overlapping security plugins. Multiple tools are not automatically more secure and can create duplicate alerts, conflicts, or unnecessary complexity. Review what your host already provides before adding another layer.
Wordfence is one established option with a free version and published setup documentation. Its help center describes available features and configuration. Compare the available options and read the documentation before turning on advanced settings.
A plugin cannot replace basic maintenance. Keep it updated, review its alerts, and confirm that the features you rely on are enabled. Avoid changing advanced firewall settings if you do not understand what they do; a mistake could block legitimate visitors or your own access.
Checklist:
- Choose a reputable, maintained security plugin if you need one.
- Check whether your hosting plan already includes similar features.
- Configure login protection and scanning where appropriate.
- Read alerts and resolve problems rather than ignoring them.
- Avoid installing several plugins that do the same job.
10. Protect Your Hosting and Email Accounts
WordPress security does not stop at the WordPress dashboard. Your hosting account can control files, databases, domains, email, and other important settings. The email account used for password resets may also provide a route back into your website.
Use unique passwords for these accounts and enable two-factor authentication wherever it is available. Keep your browser and operating system updated, and avoid signing in to sensitive accounts on untrusted shared devices. If you must work on a public computer, do not save passwords there and make sure you sign out completely.
Be careful with unexpected messages that claim to be from your host, a plugin developer, or WordPress. Do not open unfamiliar attachments or enter your login details through a link in a suspicious email. Instead, visit the provider’s website directly and check your account notifications there.
Checklist:
- Secure your hosting control panel.
- Enable 2FA for hosting and email accounts where available.
- Keep your computer and browser updated.
- Check suspicious requests directly through the official provider website.
11. Keep Login and Contact Forms Under Control
Public login pages and contact forms can attract automated attempts, spam, and unwanted submissions. Use a login protection feature or a reputable security plugin to help limit repeated failed sign-in attempts. Add suitable spam protection to public forms when spam becomes a problem.
Use unique account names rather than relying on predictable choices for new administrator accounts. However, changing the login URL alone is not a complete security strategy. Strong passwords, 2FA, updates, backups, and sensible permissions matter much more than hiding a page address.
If your website allows public registration, check Settings → General and confirm that user registration is enabled only if you actually need it. Review the role assigned to new users so that registration does not grant more access than intended.
Checklist:
- Protect the login page against repeated failed attempts.
- Add spam protection to forms when needed.
- Disable public registration if your site does not use it.
- Check the default role for any new registrants.
12. Monitor Your Website for Warning Signs
Security is an ongoing habit, not a one-time project. Make time to review your WordPress dashboard, user list, plugin updates, backup status, hosting notices, and security alerts.
Pay attention to unfamiliar administrator accounts, unexpected changes to pages, new plugins you did not install, sudden redirects, browser security warnings, or messages from your hosting provider about suspicious activity. These signs do not always prove that a site has been hacked, but they deserve investigation.
You can also check Google Search Console for security issues or other warnings affecting your site. If you suspect a compromise, avoid making random changes in a panic. Contact your host or a qualified WordPress security professional, preserve useful alerts or logs, and follow a clear cleanup and recovery process.
Checklist:
- Review security alerts and unfamiliar user accounts.
- Check that backups are completing successfully.
- Watch for unexpected content, redirects, or browser warnings.
- Review Search Console and hosting notifications.
- Know who to contact if you need help recovering the site.
A Simple WordPress Security Maintenance Schedule
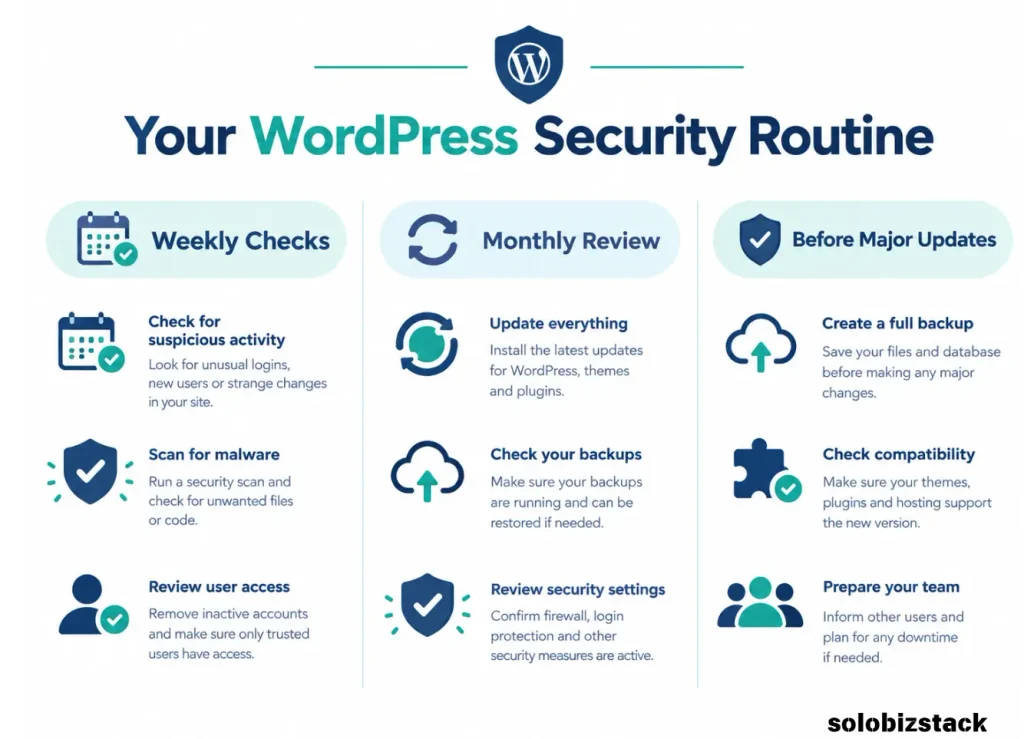
You do not need to spend hours on security every day. A repeatable routine is easier to maintain than a long list that you check only once.
Weekly
- Check available WordPress, plugin, and theme updates.
- Confirm that backups are running.
- Review security alerts and investigate anything unusual.
Monthly
- Review users and permissions.
- Delete plugins and themes you no longer need.
- Check that HTTPS works across important pages.
- Review hosting account security and backup retention.
Before major changes
- Create a fresh backup.
- Update one set of components at a time if practical.
- Check the homepage, important posts, forms, and login process afterward.
For more WordPress maintenance advice, see our guide on how to speed up a WordPress website. Website performance and security are different concerns, but both benefit from regular maintenance.
[Learn How to Speed Up WordPress → ]
Common WordPress Security Mistakes to Avoid
A few common mistakes can undermine otherwise sensible security practices:
- Installing too many plugins: More plugins mean more software to maintain. Install only what your website needs.
- Ignoring backups: A backup is useful only if it includes the necessary files and database and can actually be restored.
- Sharing administrator logins: Separate accounts and appropriate permissions make access easier to manage.
- Using pirated software: Unofficial copies can contain malicious code and may not receive legitimate updates.
- Assuming HTTPS is enough: HTTPS protects data in transit; it does not fix outdated plugins or weak passwords.
- Ignoring warnings: Repeated alerts or unexplained changes should be investigated, even if the site still appears normal.
The aim is not to make every setting complicated. It is to establish a handful of good habits and keep following them.
Frequently Asked Questions
Do I need a security plugin for WordPress?
A security plugin can be helpful, especially for beginners who want features such as scanning, login protection, and security alerts in one place. However, a plugin is not a substitute for updates, strong passwords, 2FA, backups, and secure hosting. Review your host’s existing features before choosing an additional plugin.
Is WordPress secure for beginners?
WordPress can be used securely, but the site owner is responsible for maintaining the installation, themes, plugins, accounts, and hosting setup. Following a practical security checklist reduces common risks and makes problems easier to recover from. No website is completely risk-free.
How often should I update WordPress plugins?
Check for updates regularly and apply important security updates promptly. Create a fresh backup before significant changes, then confirm that your site still works afterward. Automatic updates can help with maintenance, but you should still monitor results and resolve failures.
Are free WordPress security plugins enough?
A reputable free plugin may provide useful protection for a small blog. Whether you need paid features depends on your site’s purpose, risk level, hosting setup, and support requirements. Compare the actual features and limitations rather than assuming that paid always means necessary or that free covers every need.
Does an SSL certificate protect my whole WordPress website?
No. An SSL/TLS certificate enables HTTPS encryption for the connection between a visitor’s browser and your server. It does not prevent every kind of attack or fix weak passwords, outdated software, compromised accounts, or missing backups. Treat HTTPS as one essential layer of a wider security plan.
What should I do if I think my WordPress site has been hacked?
Contact your hosting provider or a qualified WordPress security professional as soon as practical. Avoid deleting files or reinstalling plugins at random, because you may lose evidence or make recovery harder. Secure the email and hosting accounts connected to your site, preserve available alerts and logs, and use a trusted cleanup and restoration process.
Final Word: Keep Security Simple and Consistent
You do not need to become a cybersecurity expert to take better care of your WordPress website. Start with the basics: keep your software updated, use unique passwords, enable two-factor authentication, review user access, maintain working backups, and make sure HTTPS is configured correctly.
Then build a routine for checking updates, backups, and warnings. These small habits will not eliminate every risk, but they give your website a stronger foundation—and give you a clearer plan if something does go wrong.